Inside Fenorri everyone have their profiles. This allows for improving internal communication and collaboration. Profile pages contain not only useful information but also reports, files, business apps, emails, and other resources. Each profile has a dashboard where user stats can be viewed.
Open
Open your top menu and click on the 'Posts & Profile' item: 
Alternatively, click on a person's name to view their profile.
User Profile Page
Each profile has the following menu to enable quick access to the various profile sections:
Profile Menu
To view an email, simply click on it (alternatively you can click on the 'comments' or 'expand' buttons).
Quick Overview
The following section contains info on who many certificates the person has, how many endorsements have been given to the person, how many likes has the person received, and how many followers does the person has.
Profile Info
This section contains a person's contact information:
Current Apps
This section contains all currently running apps. That means the user has started a business app and has not finished it, to it is paused right now. The profile owner can continue with a business app by clicking the 'Run' button directly from here:
BI Reports
Recent reports can be viewed from the following section:
Recent Files
If the profile owner has worked on any files recently, they will appear in the following section:
Groups
This section contains user groups:
Position & Management
This section shows who are the managers of this particular person. To view who are the subsidiaries of the person and a mini org chart, click on the 'Expand' button:
Following
The following section is showing who does the person follow:
Data Forms
This is a short-cut to the user's data and master data forms:
Skills
This section contains which skills does this person have:
Education
The education section contains information on a person's educational background.
Experience
This section contains what experience does the person has.
Endorsements
If other users have given any endorsements, they would be listed in the following section:
Whenever an endorsement is written, it will automatically publish a post to the person's profile and send a post to the timeline.
Certificates & Awards
People can list their certificates in the following section:
Edit Profile
You can select the following option from the top menu:
Alternatively, you can click the following button directly from your profile page:
The following section contains user basic information:
Inside the following section you can specify who does the person report to, as well as who reports to that person:
Person's contact details can be listed in the following section:
Other account settings include specifying if the person is an administrator, what language should be the default one for that person. You can also specify if the person is a superuser. You can deactivate an account. You can also enable or disable access via a mobile device for that particular user:
You can also enable or disable access to the editors, such as forms, reports or business apps editors. This will ensure that users who do not need to work on your data forms, reports or apps, they will not be able to open a form/report/business app and edit it. Once you have finished, click the 'Save' button:
Users, Administrators, Superusers
By default, if you have not granted a person with an 'Administrator' or 'Superuser' level, that person would be considered an ordinary user.
Superusers
Superusers in Fenorri are administrators will full access to everything. You should only grant this level of administration to fully trustworthy employees. This can be your general manager, IT administrator, or anyone else who needs this level of access and can be fully trusted.
Administrators
Administrators are similar to superusers, but they do not have full access. Instead, it is limited to only administering teams and resources. Administrators cannot perform some functions available only to superusers. For instance, superusers have access to all resources in the system (e.g. forms, reports, business apps, files, etc.), while administrators don't have this kind of access. In case an administrator needs to view a report they don't have access to, they need to ask for access from the owner. Superusers would be able to access the same report even though no-one has granted them such access.
Change Status
In the drop-down menu, you can select your availability status. 
You can set your availability status by clicking the 'lock' icon at the top menu:
Please note, you can also set your status inside your calendar item. For each calendar activity, you can have a separate status, which will be shown automatically during the time of that particular item is current. For instance, you can have a scheduled meeting and set in advance that your status is 'Do not disturb'. Inside your calendar, click on any item and set your availability status:
Profile Security Settings
You can configure your profile access by selecting your top page menu 'Configuration' icon: 
Select 'Privacy settings' from the drop-down menu:
You will then be able to specify who can access your profile resources, posts, file, reports, apps, dashboard, etc:
- To allow everyone in your organization to view your profile and resources, select 'All users'.
- To limit the access only to your department colleagues, select 'Only my department'.
- To restrict the access only to the people following you, select 'Only users which are following me'.
- Another option, 'Only my department, other users of my groups and users which are following me', allows limiting the access to your department colleagues, members of the groups you are part of, and people who are following you.
- To restrict access to only specific users, select 'Only the following users' and list your colleagues by typing in their names and selecting them.
User Signature
Each end user can save their signature in their profile, which can then be used to generate documents – such as automatically signing contracts and saving the signed files in PDF or Word formats. To configure end user signatures, click the menu option below:
You can add or remove end user signatures in the section below.
Login for specific IPs
If you want your end users to log into the system only from specific IP addresses, please select the menu option below.
You can define your IP ranges in the section below.
External User Access
Sometimes, you may need to grant access to external users, such as partners, consultants, or customers. With Fenorri, you can provide them with limited access, ensuring they can only view what you specifically share with them. You have complete oversight of access with Fenorri. It's also crucial to remove access once it's no longer needed. Fenorri handles this for you by automatically expiring their access and deleting any unnecessary data, so you don’t have to worry about it or manage the process manually.
The platform enables external user access configuration through an easy-to-use form, requiring just two parameters to activate both external user registration and the offboarding process. This configuration ensures that the organization has full control over how external users gain access to their systems and how the system manages their offboarding.
To begin configuring this option, select the following menu item: 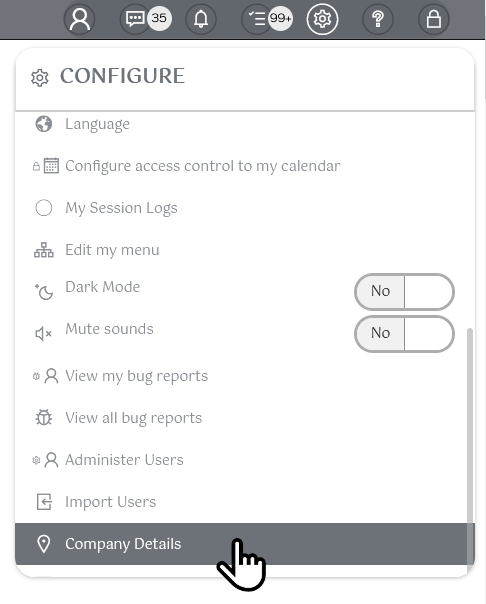
The following configuration screen will appear: 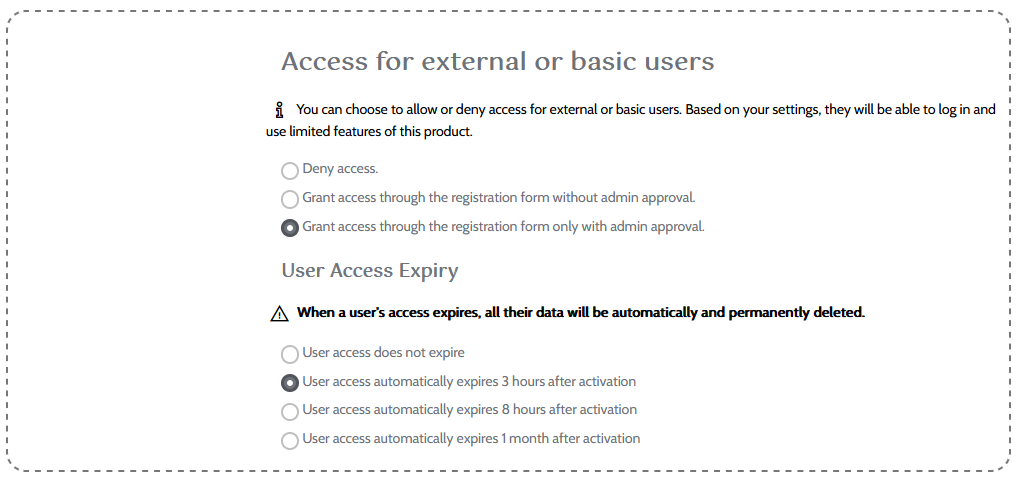
By enabling external user access, users can register online by visiting https://yourcompany.fenorri.com/userdetails/register (see the next section for more details).
If you select "Grant access through the registration form without admin approval," external users can register via the online form without needing admin approval. This option is ideal for handling a large number of external users without manual oversight.
If you choose "Grant access through the registration form only with admin approval," the system will notify the administrator via email when a new registration form is submitted, providing a link to approve or deny the request.
Additionally, you can configure the system to automatically expire external user access and delete all their data after a specified time. For example, if set to 3 hours, the user's access and all their data will be automatically removed 3 hours after their account activation.
External User Registration
Once the organization has configured external user registration and access, external users can register using a single form. The form includes a CAPTCHA to verify that the user is human and employs two-factor authentication by generating a 6-digit code, which is sent to the user's email. The external user must successfully complete the form to complete the registration process.
To begin the registration process, the external user must visit the following online form and complete it: https://yourcompany.fenorri.com/userdetails/register 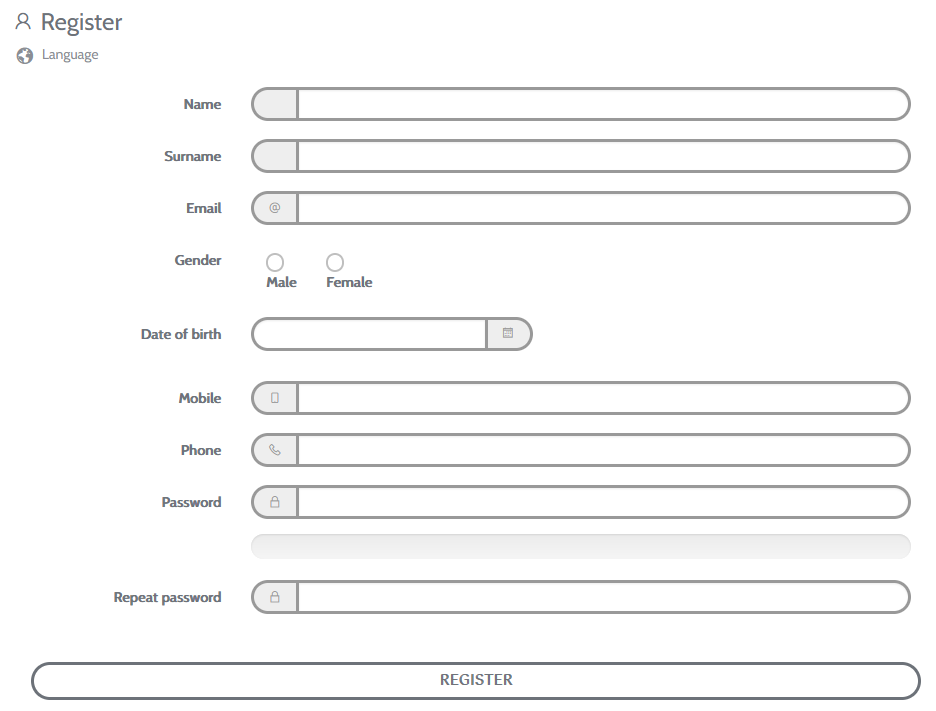
When submitting the online form, the external user will be prompted to check their email and enter the 6-digit code sent to them by the system. 
Depending on your configuration, the external user can either register and gain immediate access to the system (if manual approval is not required), or the administrator will receive a notification to approve the user's access. In this case, the external user will see the following message: 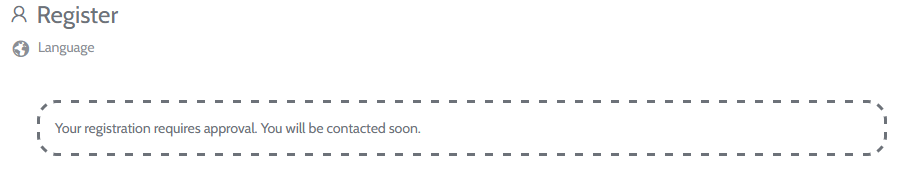
Meanwhile, the administrator will receive the following email: 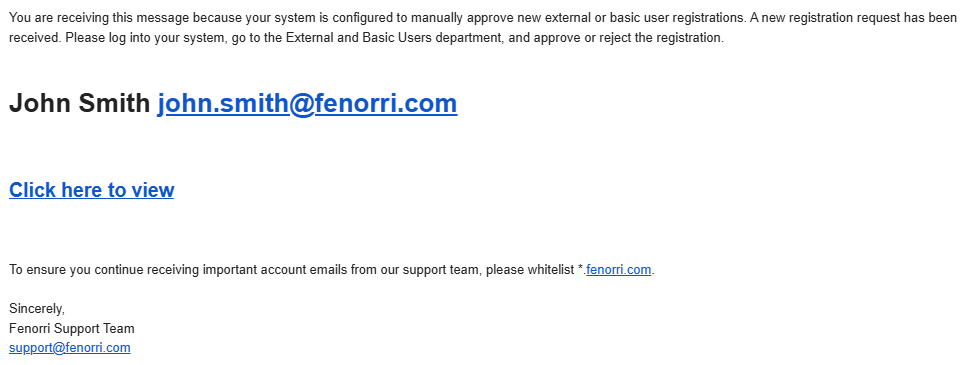
The administrator can click the link in the email to either accept or reject the external user's registration. 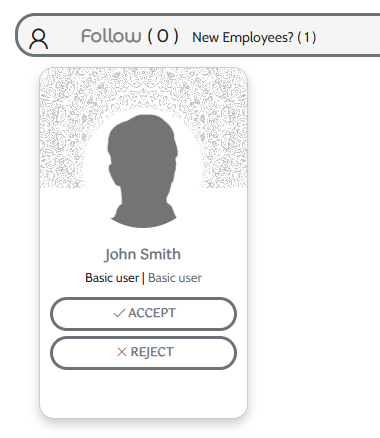
Alternatively, they can select the following menu option to view the external user department, allowing them to manage users, add or remove resources for all external users, and more. 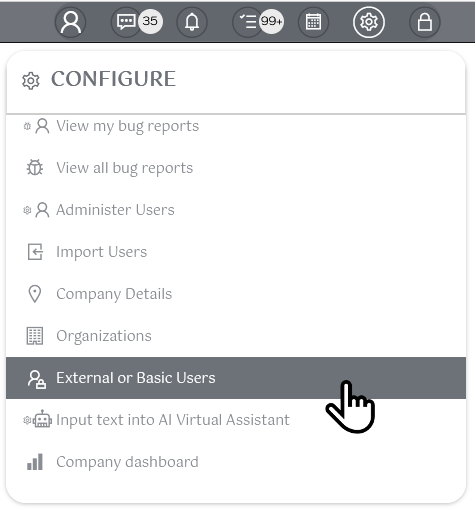
External User offboarding
If the company opts to automatically delete external users by enabling the configuration (as shown below), the system will automatically remove the user and all their data – such as chats, files, reports, posts, comments, stats, and other user-related information – after a specified time interval of 3 hours, 8 hours, or 1 month. However, the system will not delete data entered by the external user into data forms (either directly or through no-code apps).
External User Restricted Access
External User Restricted Access
By default, the system ensures that external users can only access what they have been explicitly granted permission to see. For example, if a file is shared with the entire company, an external user will not have access to that file unless explicitly permitted. To gain access to resources such as files, reports, no-code apps, groups, projects, or emails, external users must be granted permissions through the resource's user access management configuration. Alternatively, if an administrator adds an external user to a group or project that has access to certain resources, the external user will inherit that access. Similarly, if the external user is added to a group or project with message chats, they will automatically join the conversation and can view messages within it. External users are unable to see other people’s profiles, request to join groups, projects, or departments, and have highly restricted access overall.
Otherwise, the external user has very limited access to the system. Below is their menu: 
Was this article helpful?